The Ultimate Guide to Nginx Proxy Manager for Developers
•Tomdieu Ivan•
DevOpsNginxDockerSelf-HostingSSL
As a Full Stack Developer, deploying applications and managing reverse proxies can quickly become a headache. Manually editing Nginx configuration files is tedious and prone to errors.
Enter Nginx Proxy Manager (NPM)—a brilliant, Docker-based tool that provides a beautiful web interface to manage your Nginx proxy hosts, complete with free Let's Encrypt SSL certificates.
In this guide, I'll walk you through how to install Nginx Proxy Manager and use it to securely route traffic to your applications.
Before we start, you will need:
The easiest way to install NPM is using Docker Compose. Create a new directory on your server and create a docker-compose.yml file.
version: '3.8'
services:
  app:
    image: 'jc21/nginx-proxy-manager:latest'
    restart: unless-stopped
    ports:
      - '80:80'    # Public HTTP Port
      - '443:443'  # Public HTTPS Port
      - '81:81'    # Admin Web Port
    environment:
      DB_MYSQL_HOST: "db"
      DB_MYSQL_PORT: 3306
      DB_MYSQL_USER: "npm"
      DB_MYSQL_PASSWORD: "npm"
      DB_MYSQL_NAME: "npm"
    volumes:
      - ./data:/data
      - ./letsencrypt:/etc/letsencrypt
  db:
    image: 'jc21/mariadb-aria:latest'
    restart: unless-stopped
    environment:
      MYSQL_ROOT_PASSWORD: 'npm'
      MYSQL_DATABASE: 'npm'
      MYSQL_USER: 'npm'
      MYSQL_PASSWORD: 'npm'
    volumes:
      - ./data/mysql:/var/lib/mysql
Start the container by running:
docker-compose up -d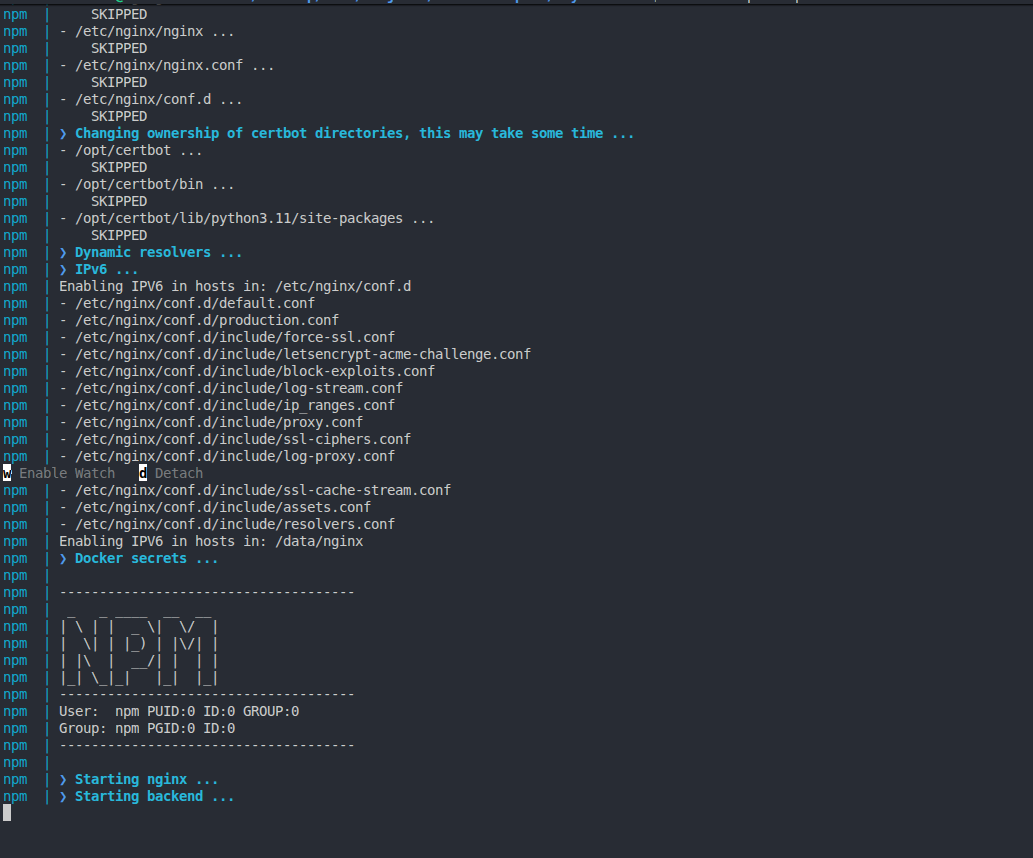
Once the containers are running, navigate to your server's IP address on port 81 in your web browser:
http://<your-server-ip>:81
Log in using the default credentials:
admin@example.comchangeme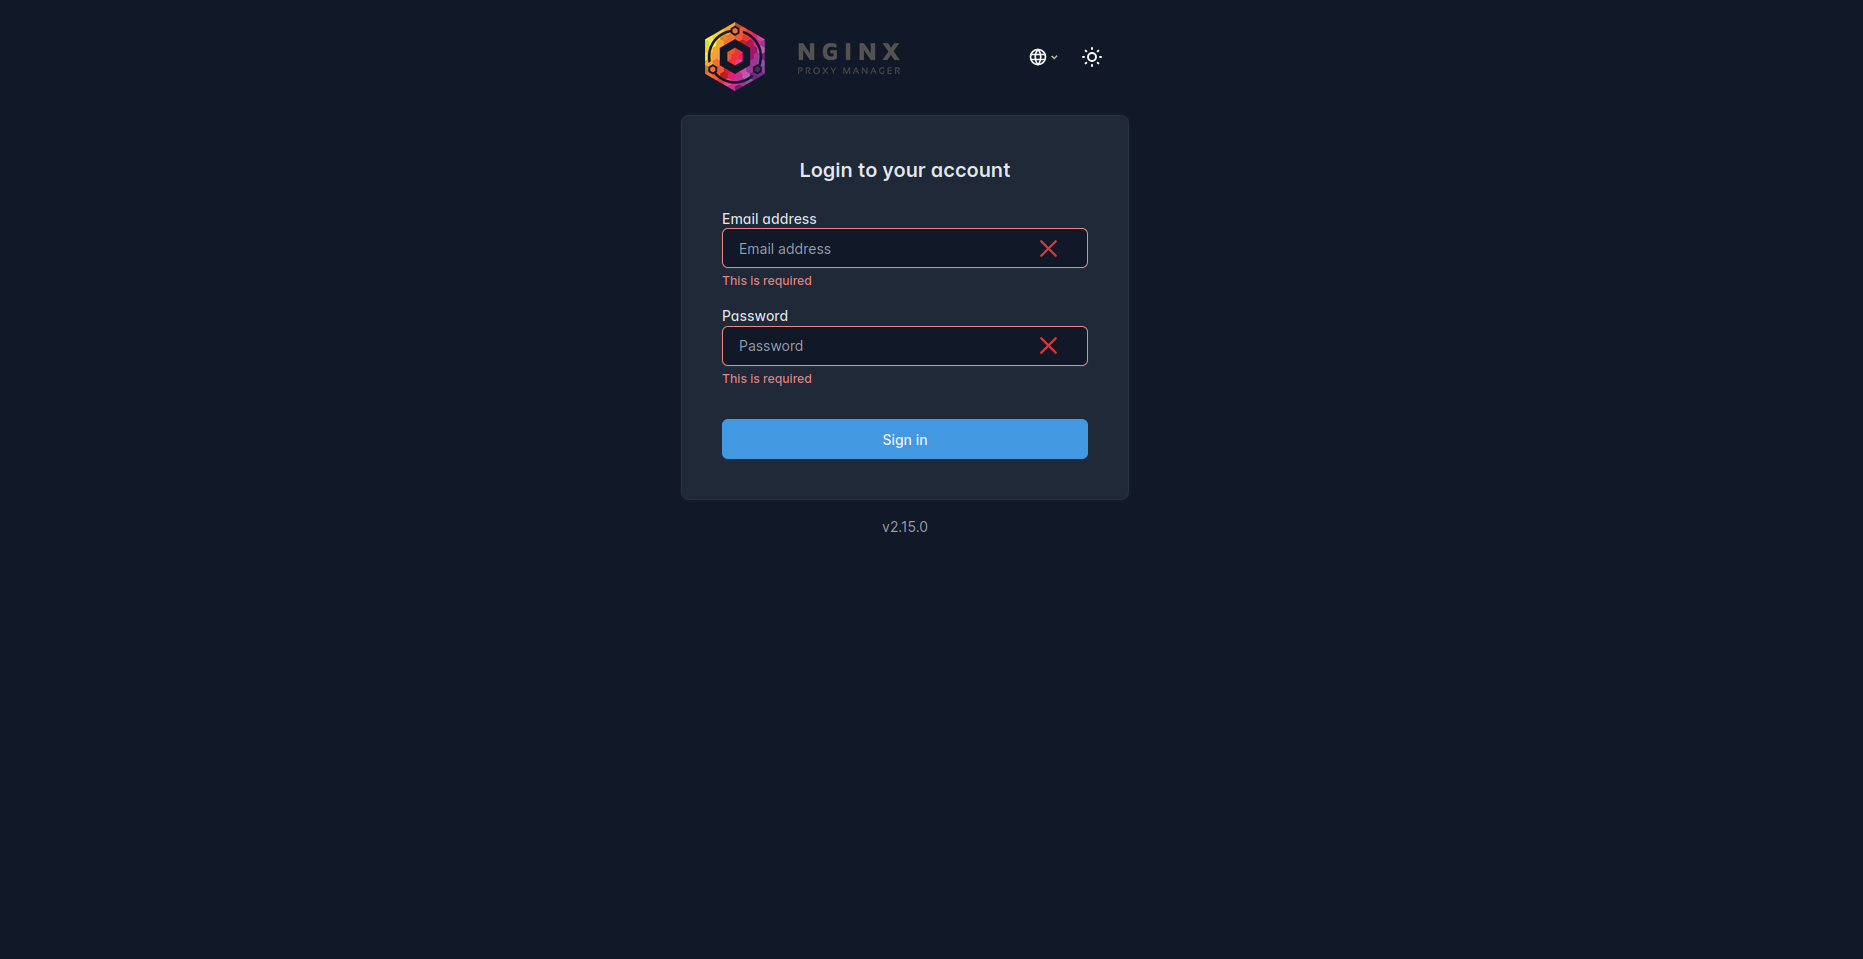
Immediately after logging in, the system will prompt you to update your details and change your password. Make sure you set a strong password!
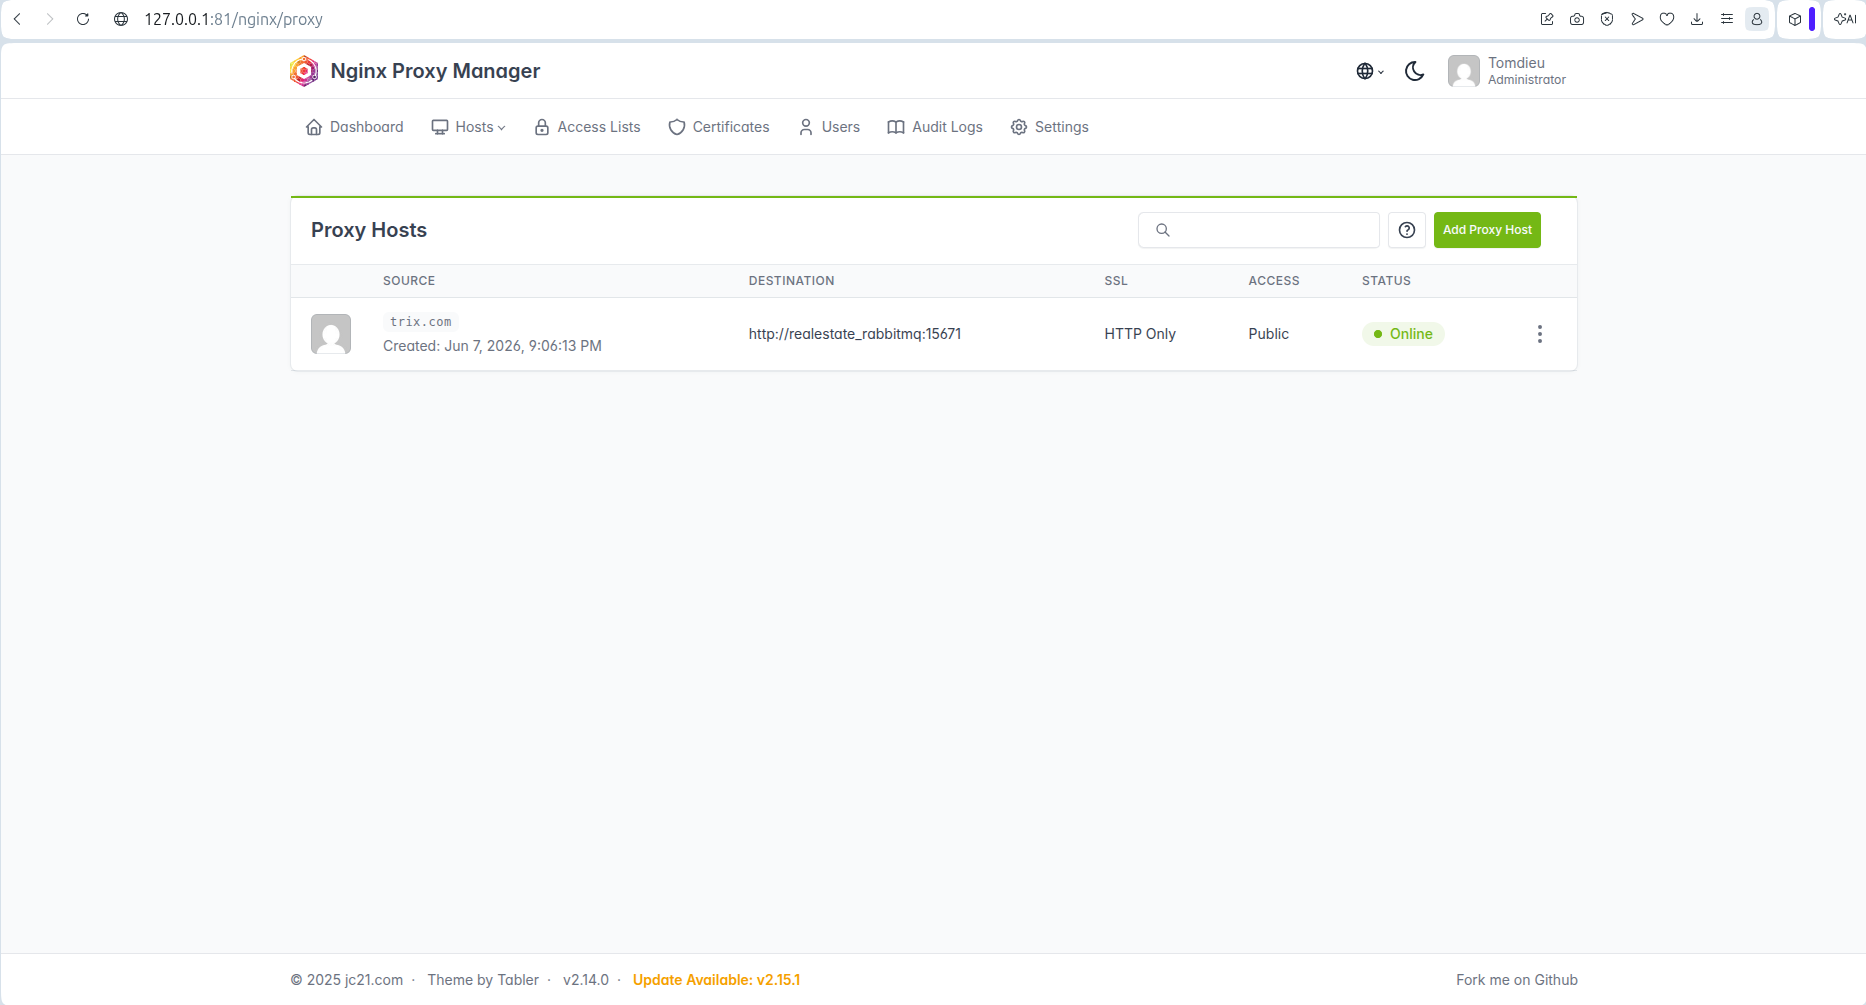
Let's assume you have a Next.js application running in another Docker container on port 3000. You want to map app.yourdomain.com to this container.
app.yourdomain.comhttp<your-docker-container-ip> (or the internal Docker network name)3000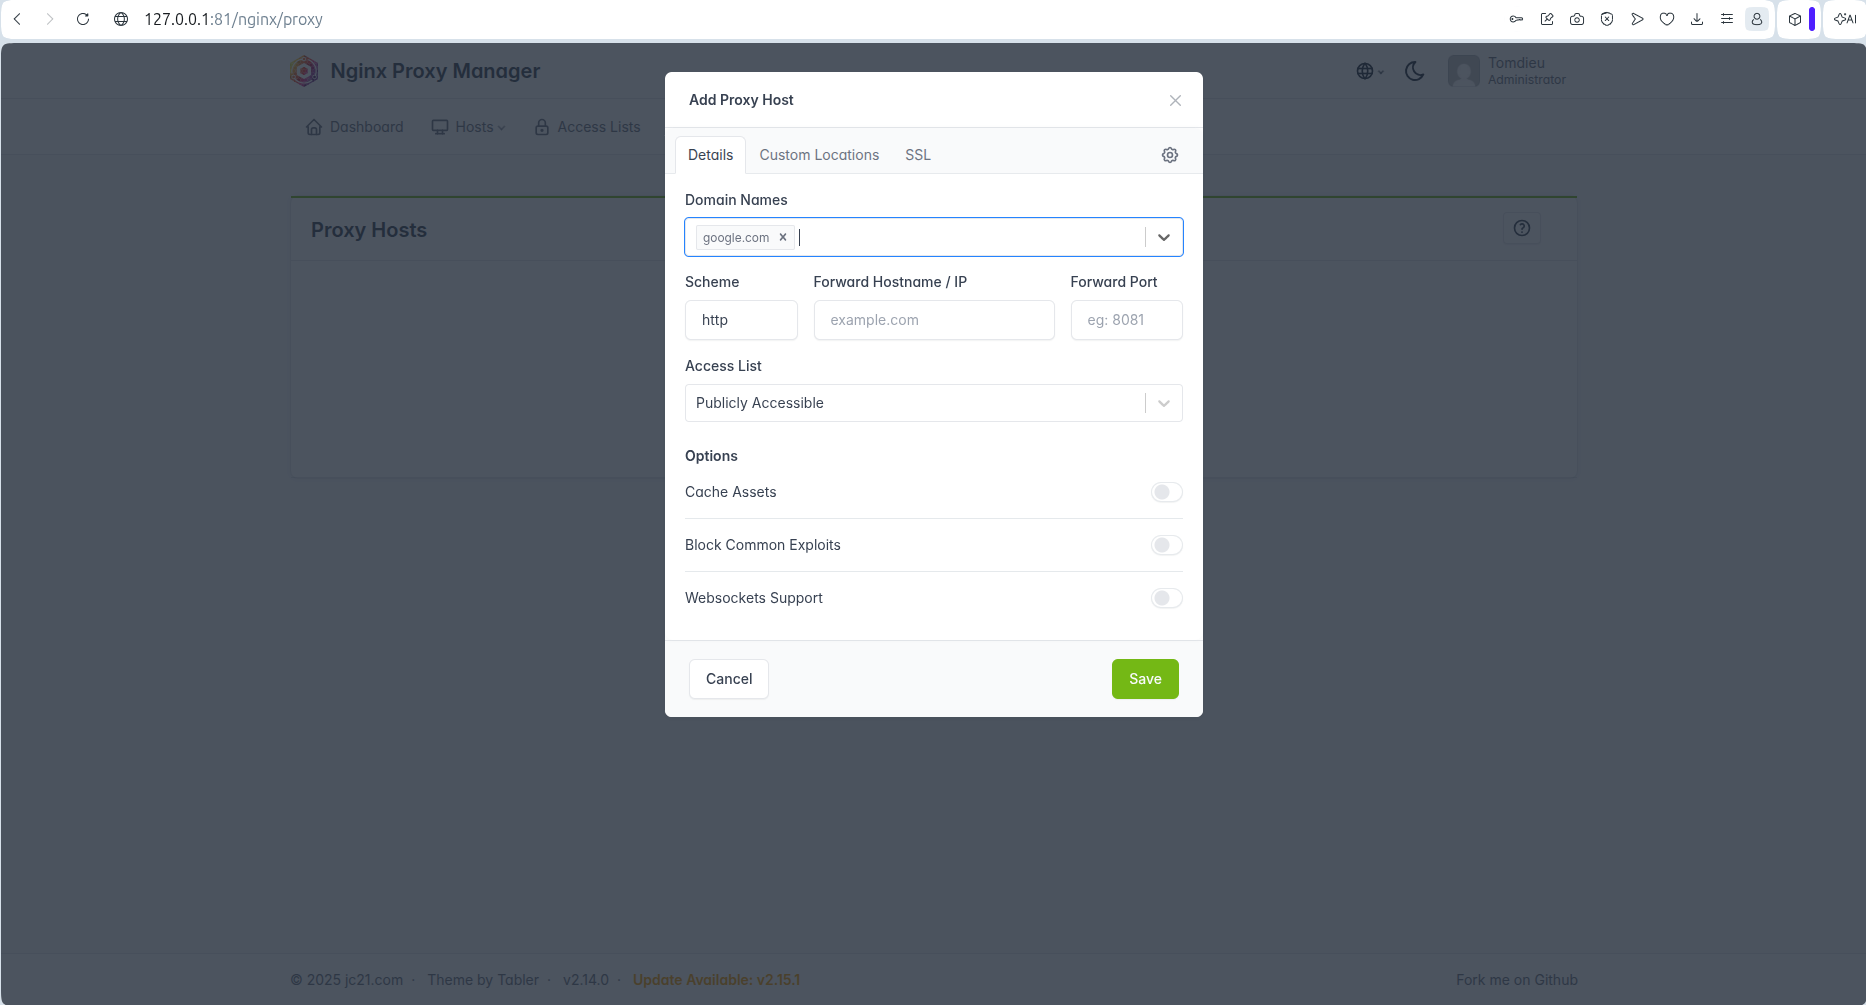
Nobody likes the "Not Secure" warning. NPM makes it incredibly easy to get a free SSL certificate.
In the same "Add Proxy Host" window, switch to the SSL tab:
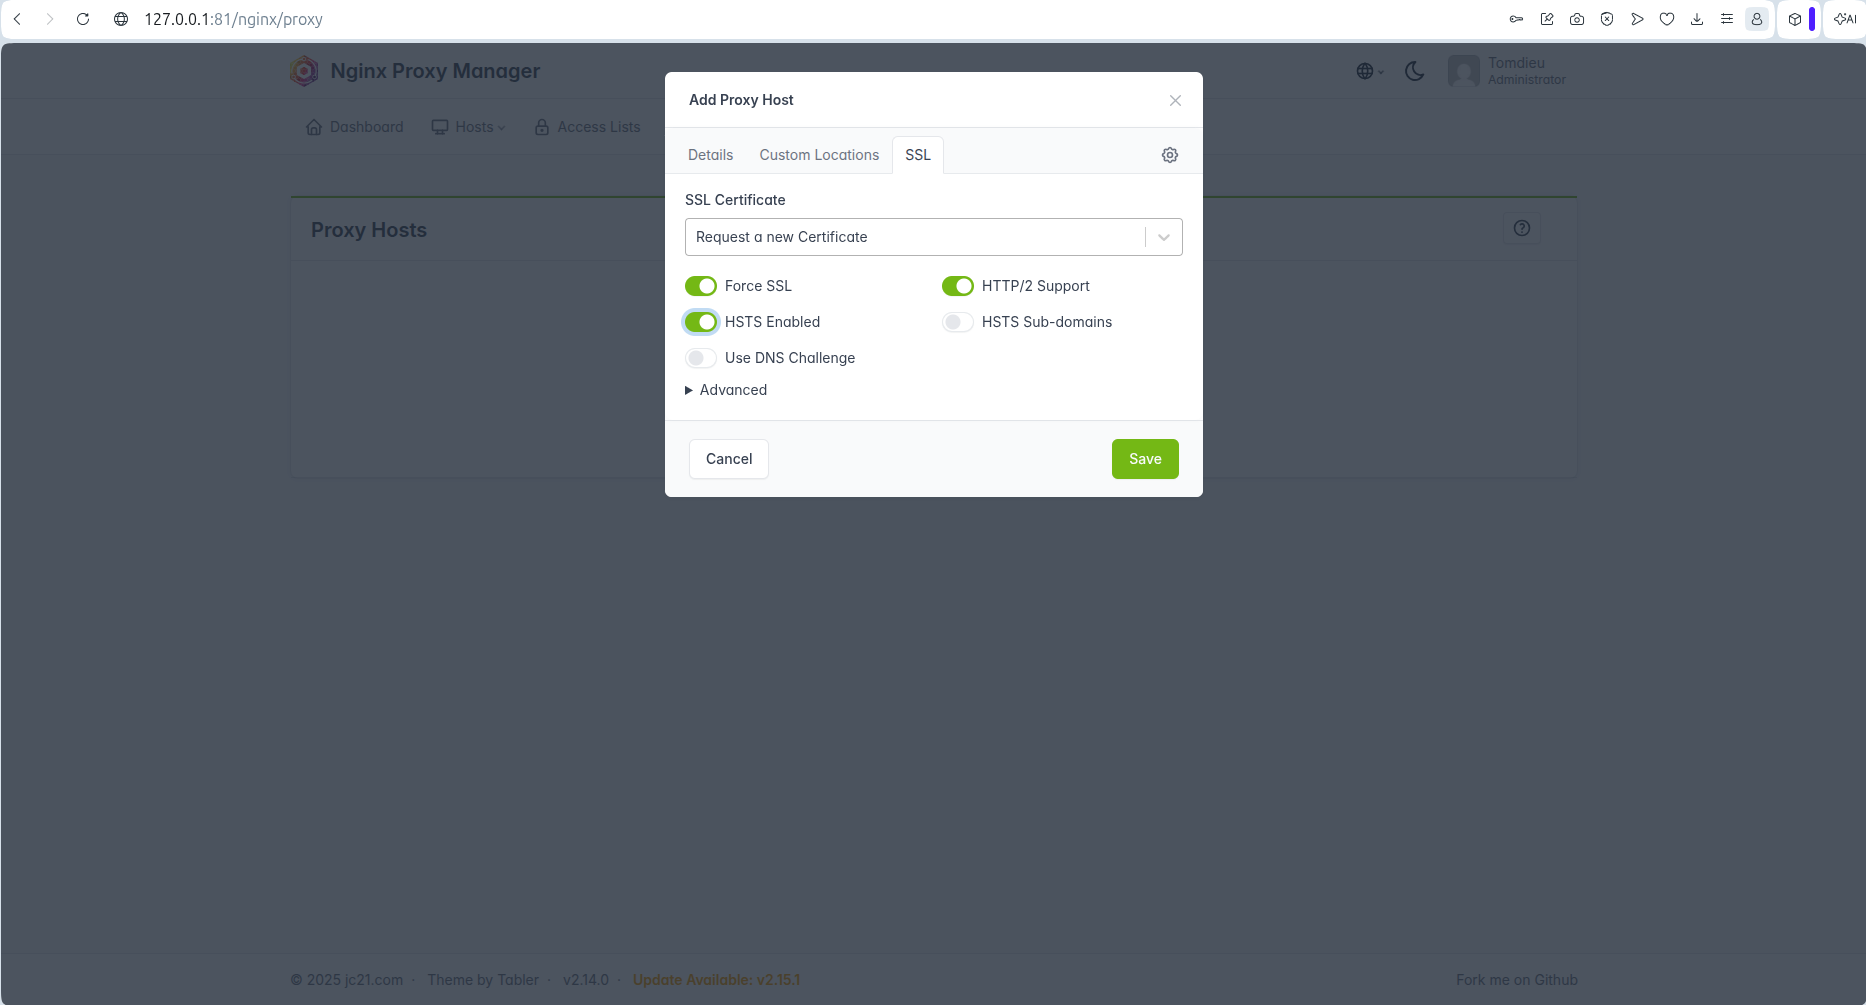
Nginx Proxy Manager will now securely contact Let's Encrypt, verify your domain, and issue an SSL certificate. In a few seconds, your app will be live and secure!
Open a new browser tab and navigate to https://app.yourdomain.com.
If everything was configured correctly, you should see your application running with a beautiful padlock icon in the URL bar, indicating that the SSL certificate is valid and active.
Nginx Proxy Manager is an absolute lifesaver for developers who self-host applications. It completely abstracts away the complexities of Nginx configuration and SSL certificate renewals, allowing you to focus on what you do best: writing code.
Have you tried Nginx Proxy Manager? Let me know your thoughts or hit me up if you run into any issues deploying your stack!
If you found this guide helpful, check out my Projects to see how I architect full-stack applications!